What is a screencast
A screencast is a video in which the computer screen is displayed and accompanied by audio narration.
Essential question
- How can we use screencasting to better communicate information to students?
- How can we use screencasting to use class time more effectively?
Example screencasts
|
Answer Student Questions
Mr Roncone uses screencasts to answer frequently asked questions. By creating a screencast to answer simple student questions, Mr Roncone is better able to focus on working with a small group of students. To the right is an example of a short screencast Mr Roncone has created for his students. In this case Mr Roncone saved himself a lot of effort by creating a screencast for students to view rather than answering the same question for individual students in each class.
Explain How to Complete an Activity Mr Roncone also uses screencasts to demonstrate for students how to complete an activity. This is particularly useful for centers so that students can get detailed directions for completing a task without Mr Roncone having to repeat himself so often. This way students can listen to the directions when they arrive at the task and they can listen as many times as they need. Deliver Content Information
One of the most popular uses of screencasting is to deliver content information which would traditionally be delivered by the teacher to the class as a whole group. By creating a screencast of this content information students can: - listen to the video and get the content as often as needed, - they can pause the video to think or take a mental break, - they can relisten to sections of the video for the purpose of taking notes This type of screencast can also be used for flipped learning in order to free class time for projects, activities, etc. Students can watch the screencast at home for homework thus coming to class armed with the content knowledge necessary for activities which will require them to apply the knowledge. Student Created Screencasts
Screencasting is also an option for students to create presentations. This way students can practice their presentation as often as they feel is necessary. Screencasting also allows for students presentations without consuming large amounts of class time. With student screencasting their presentations other students can watch the presentation outside class or in a station. It also allows for teachers to better score and provide feedback on student presentations as the teacher can watch the presentation as many times as necessary. |
|
Before you start your recording
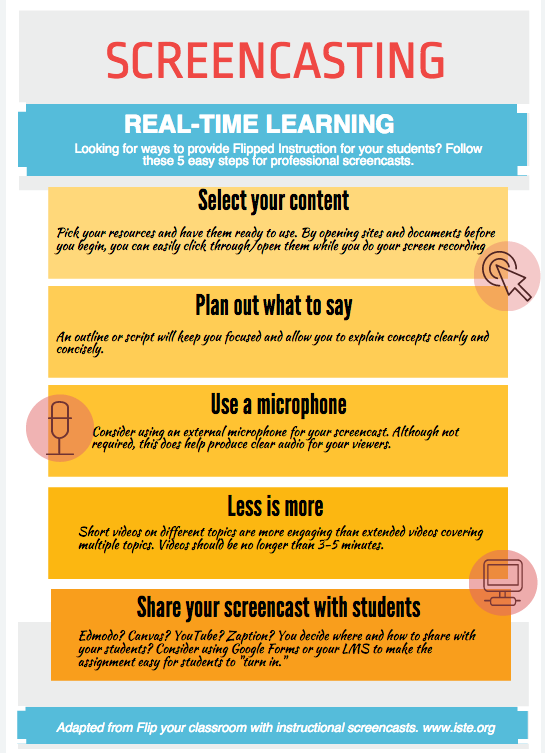
Before you start recording your screencast you want to make sure you know what you want your screencast to be about. If it is a screencast explaining how to complete a technology task make sure you focus on just one task per screencast.
For example: If you want to show students how to share a folder in Google Drive, focus only on that task. Do not get diverted onto how to organize folders, etc.
It is a good idea to plan what you will say in your screencast especially you are creating a screencast for delivering content information. By outlining what you will say in the screencast you are able to be more concise and focused in your recording.
Concise and focused is a critical element to successful screencasting. The guideline for a student's attention span is their chronological age+1. However, keep in mind that most people's attention spans max out at about 10 minutes.
Once you have created your screencast you must determine where you will post it for students to access. Youtube or SchoolTube both provide a code to embed uploaded video so that you can post your video on your school webpage or in Canvas.
Infographic reproduced with permission from Molly Zimmer
How to create a screencast

To create your screencast with Quicktime:
1. Go to spotlight.
Spotlight is the magnifying glass icon at the top right corner of your computer screen, shown in the image above
2. Click once on Spotlight and type QuickTime into the search box. From the search options choose QuickTime Player by double clicking on the word QuickTime Player.
Do not choose QuickTime Player 7.
3. You know that QuickTime Player is open when the words QuickTime Player are displayed just to the right of the Apple Icon, which is at the top left of your computer screen.
4. To the right of the words QuickTime Player, click once on the word File and select New Screen Recording from the drop down menu.

5. A box will pop up on your screen. In the box, click the round, red record button.
Shown in the image to the left.
6. To begin your screencast you will click once, anywhere on the screen. After you click once, anywhere on your screen wait 10 seconds then begin speaking and creating your screencast.
When your recording begins you will see a small black stop icon in the bar at the top of your screen
7. To stop your recording click the stop icon in the bar at the top of your screen.
When you stop your recording a window displaying your recording will appear on your screen. You can click the play button to
see your recording.
8. To save your recording click the word File, and select Save from the drop down menu.
To discard your recording click the red dot at the top left corner of the window displaying your recording. Then click the Don't Save button from the box that pops up on your screen.
9. Once you are satisfied with your screencast you need to upload it to the Internet so you can easily share it with students. You can upload it to Youtube or Google Drive. There are many other uploading options but these are the easiest as everyone has both a Youtube and Google Drive account with your school email address. Once the video is uploaded you can email the link to students or embed the video into your Canvas course.